Single Ear Stepless Hose Clamps: Pre-Installation Preparation for Success
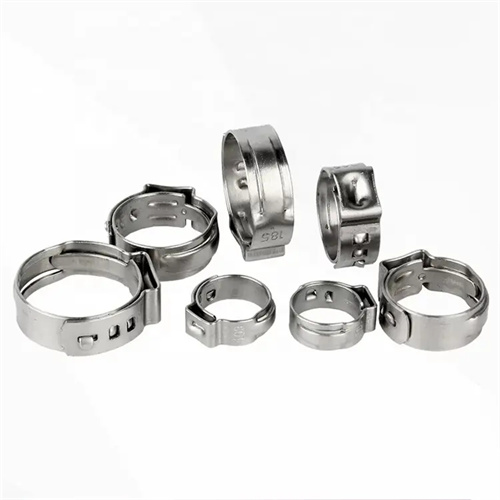
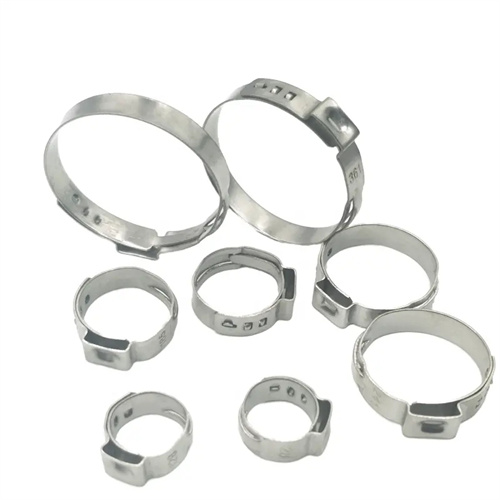
Proper preparation is the first step to ensuring single ear stepless hose clamps are installed correctly, and we recommend starting with a few key checks. Begin by inspecting the hose and fitting for any damage—cracks, bulges, or debris can compromise the seal, even with a quality clamp. Clean the connection area with a cloth to remove dirt, oil, or corrosion, as these can prevent the clamp from gripping tightly. Next, verify that the clamp size matches the hose’s installed outer diameter (OD)—refer to our size chart to ensure the clamp’s range covers your measurement. For example, a hose with an installed OD of 10mm should use a clamp rated for 8–12mm. Finally, gather your tools: a compatible crimping tool (manual or pneumatic), gloves to protect your hands, and a rag for cleanup. Taking these steps avoids common mistakes like using an ill-fitting clamp or installing on a damaged hose, setting the stage for a secure seal.
Single Ear Stepless Hose Clamps: Choosing the Right Tools for Installation
Using the correct tools is critical for installing single ear stepless hose clamps properly, as the wrong equipment can damage the clamp or result in a loose seal. We recommend using a dedicated ear clamp crimping tool, which is designed to apply even pressure to the single ear without bending or distorting the band. Manual tools work well for small projects, offering precise control for tight spaces, while pneumatic tools are ideal for large installations, speeding up the process with consistent force. Avoid using pliers or vice grips, as these can crush the ear unevenly, leading to weak spots or over-tightening. Check that the tool’s jaw size matches the clamp’s ear dimensions—most tools are adjustable to fit different ear sizes. Investing in quality tools ensures that the clamp is crimped correctly, maximizing its sealing performance and lifespan.

Single Ear Stepless Hose Clamps: Positioning the Clamp for Optimal Sealing
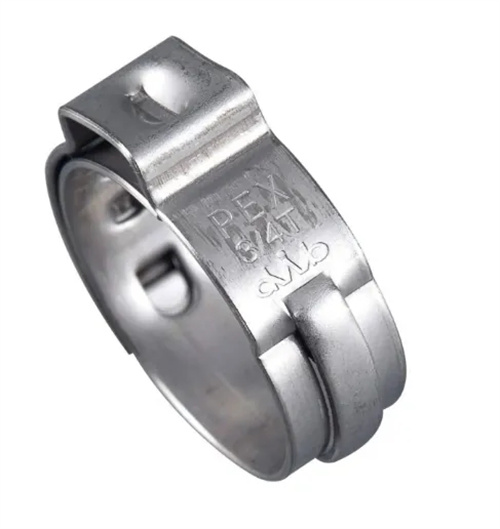
Correct positioning of single ear stepless hose clamps is essential for creating a uniform seal, and we follow specific guidelines to achieve this. Slide the clamp onto the hose before attaching the fitting—this prevents stretching or damaging the hose later. Once the hose is pushed fully onto the fitting (ensure it reaches the fitting’s barb or stop), position the clamp 1–2mm from the end of the hose, avoiding the edge where the hose meets the fitting. This placement ensures the clamp grips the hose’s strongest section, reducing the risk of slippage. For hoses with multiple layers or reinforcement, center the clamp over the thickest part of the connection. If installing multiple clamps on a single hose (common in high-pressure systems), space them 2–3cm apart to distribute pressure evenly. Taking time to position the clamp correctly ensures every part of the connection is secured.
Single Ear Stepless Hose Clamps: Mastering the Crimping Process for a Secure Fit
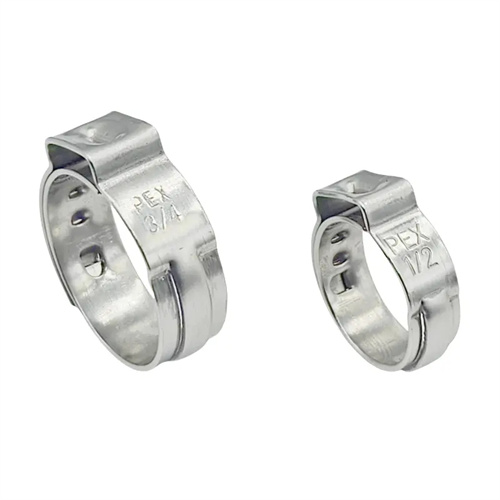
The crimping step is where single ear stepless hose clamps create their tight seal, and mastering this technique is key to proper installation. Start by opening the crimping tool’s jaws and placing them around the clamp’s ear, ensuring the tool is aligned perpendicular to the band. Squeeze the tool slowly, applying steady pressure until the ear is fully compressed—you’ll feel a slight “give” when it’s properly crimped. For manual tools, use your body weight (not just hand strength) to ensure even force; for pneumatic tools, set the pressure to the manufacturer’s recommendation (typically 60–80 psi). Avoid over-crimping, which can flatten the band or damage the hose, or under-crimping, which leaves the clamp loose. The goal is a tight, uniform crimp where the ear is flattened but the band remains round, creating 360-degree pressure around the hose. Practice on a scrap piece first if you’re new to the process—consistency is key.
Single Ear Stepless Hose Clamps: Post-Installation Checks to Ensure Reliability
After installing single ear stepless hose clamps, a few quick checks can confirm the seal is secure and prevent future issues. First, visually inspect the crimped ear—it should be flat and centered, with no cracks or distortion in the band. Gently tug on the hose to test for movement; a properly installed clamp will hold the hose firmly in place with no slippage. For fluid-carrying hoses, perform a pressure test by running the system at operating pressure and checking for leaks around the clamp. If using the clamp in a vibration-prone environment (like an engine), let the system run for a few minutes, then recheck the clamp—vibration can sometimes reveal loose seals. Finally, mark the installation date on the clamp with a marker, making it easy to track maintenance intervals. These checks catch problems early, ensuring the clamp performs as intended for its lifespan.
Single Ear Stepless Hose Clamps: Troubleshooting Common Installation Mistakes
Even with careful work, installation issues can arise, but knowing how to troubleshoot single ear stepless hose clamps saves time and frustration. If the clamp leaks, check if the crimp is uneven—this can be fixed by carefully re-crimping with the tool (if the band isn’t damaged). A loose hose may mean the clamp is too large; replace it with a smaller size that matches the hose’s OD. If the band is bent or kinked, the clamp is compromised and should be replaced—never reuse a damaged clamp. Over-tightening, which can cause hose damage, is often due to excessive tool pressure; adjust the pneumatic tool’s settings or use lighter force with manual tools. For clamps in tight spaces, try a right-angle crimping tool to reach the ear without bending the band. By addressing these issues promptly, you ensure the clamp delivers the reliable, leak-free performance it’s designed for.